This article has been published ahead of schedule to provide you with tips for shortening your learning curve to master the new Midjourney feature - Moodboard.

Midjourney has added two new features yesterday:
Multiple Personalization: enables faster (5x) personalization and the creation of additional profiles focusing on specific styles ("Standard Profiles")
Moodboard: allows you to upload or link to images to train the model to create images that match a specific aesthetic, mood, or vibe.
In this article, I will show you how to create a Moodboard personalization profile in four simple steps. I'll also give you some tips for using Moodboard.
This article focuses on Moodboard because it is a newer feature than Personalization, which you may have been using for a long time. In a future article, I will go into greater detail about personalization.
What is a Moodboard?
Moodboard is part of the "Personalization" feature, which allows users to train the Midjourney bot to create images that match their tastes. For example, if you like cute, colorful cartoons and animals, you can train the bot to create new images with similar aesthetic qualities.
Personalization is also known as "Profile" and comes with a code.
Learn more about the new Personalization and Moodboard features at: https://docs.midjourney.com/docs/personalization
How to make a Moodboard profile in four simple steps
(1) Navigate to https://www.midjourney.com/personalize or click on the Personalize icon on the left side of the website.
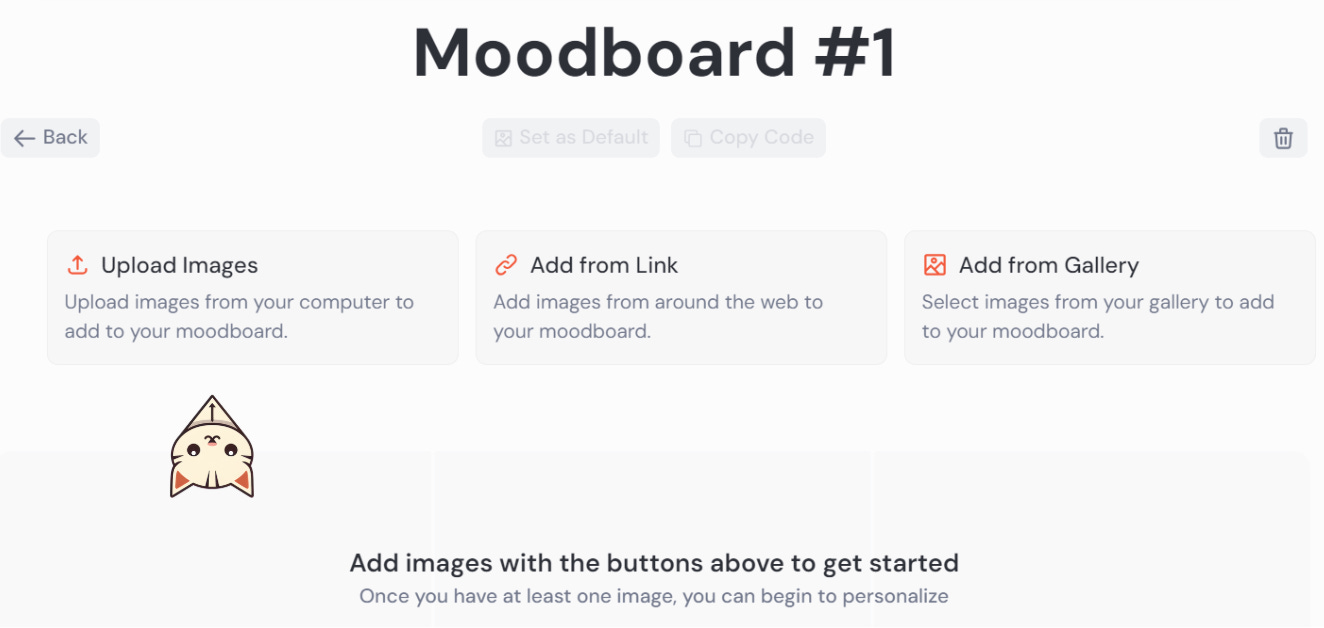
(2) To create a new Moodboard, click the "Create Moodboard" button. Then, upload images to train the bot.
(3) After the upload is complete, the Moodboard code is automatically generated.
Click the "Copy Code" button to copy the code.
The first time you copy the code, the code will begin with "m…".
The top creation bar will also show its parameter like this: --p m7267840196744314914
You can rename your Moodboard to something more specific, such as "Man on the Ship."
In this example, we are teaching the bot to create images of a man on a ship with a calm vibe, sea, orange, and ship elements.
(4) Write your prompt and include the Moodboard profile code as the parameter.
For example, this is what the Moodboard profile code looks like when you first use it:
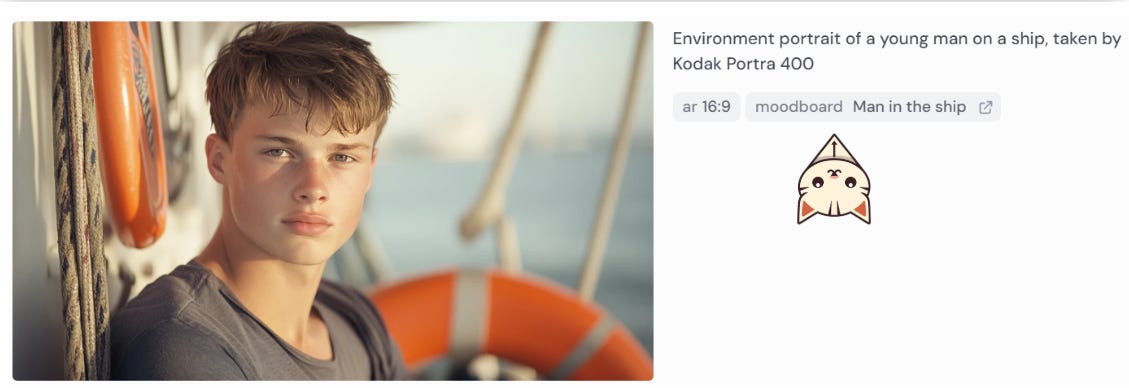
environment portrait of a young man on a ship, taken by Kodak Portra 400 --p m7267884496307879959 --ar 16:9After generating one image grid with the code, the Moodboard parameter is automatically changed to "moodboard Man on the Ship".

When you copy the prompt, the code will changed again to a shorter format.
In this case, the initial Moodboard code has changed from m7267884496307879959 —> moodboard Man on the ship —> ymzqaj9
environment portrait of a young man on a ship, taken by Kodak Portra 400 --ar 16:9 --profile ymzqaj9 --v 6.1That's it!
Congratulations! You've created your first Moodboard personalization.
You can repeat the process to create additional Moodboard profiles and manage them in the Personalization menu.


