Midjourney’s storytelling is one of its most secretive and highly anticipated features.
David said during several Midjourney Office Hours that the storytelling feature will be released before the end of 2024. But precisely what is it? How does it work? Nada, top secret.
Is it possible to tell a story with the present Midjourney features?
Yes, but with limitations.
Some will require advanced Process Prompting techniques to fix image issues. Others are impossible to get it right with the current version. It is also impossible to move an imaginary camera within the image as if the subject were in 3D.
Having said that, it is possible to use a series of photographs to tell a story. The images can carry readers through a succession of events, making them feel immersed and a part of the main character’s (protagonist’s) journey.
Ingredients for storytelling
A rough idea of what you want to create. It is not necessary to outline the story plot. A hazy idea in your head is good enough. Often, your initial few images can help guide you in creating an intriguing story, especially if you don’t have strict requirements! (If you do, grab a real-world camera and capture the video by yourself).
Photography keywords related to a scene and storytelling, i.e., establishing shot, transition shot, cutaway shot, and end scene shot. These keywords serve to set the scene and bring the elements together.
Camera angles: wide angle, ground-level angle, extreme close-up, and close up, etc. Read this article to learn more about camera angles. These keywords help create images from different perspectives, which make the story more dynamic and engaging.
Style references (
--sref) and weight (--sw): These parameters are helpful to set the look and feel of the scene consistent, including its color grading, surroundings, and overall mood.Character references (
--cref) and character weight (--cw): These are used to keep the protagonist consistent and allow us to tell the story of his/her journey.
Mix all of these components and use them imaginatively to make a story.
Notice that I did not mention the “quantity” required for each component. It is because it is entirely up to you, the human, to choose how to use and combine them to create your own unique story.
Photographic shots
Let’s look at a few examples to show how it works.
The focus is on the photography keywords because they help to bring all of the elements together to create the scene.
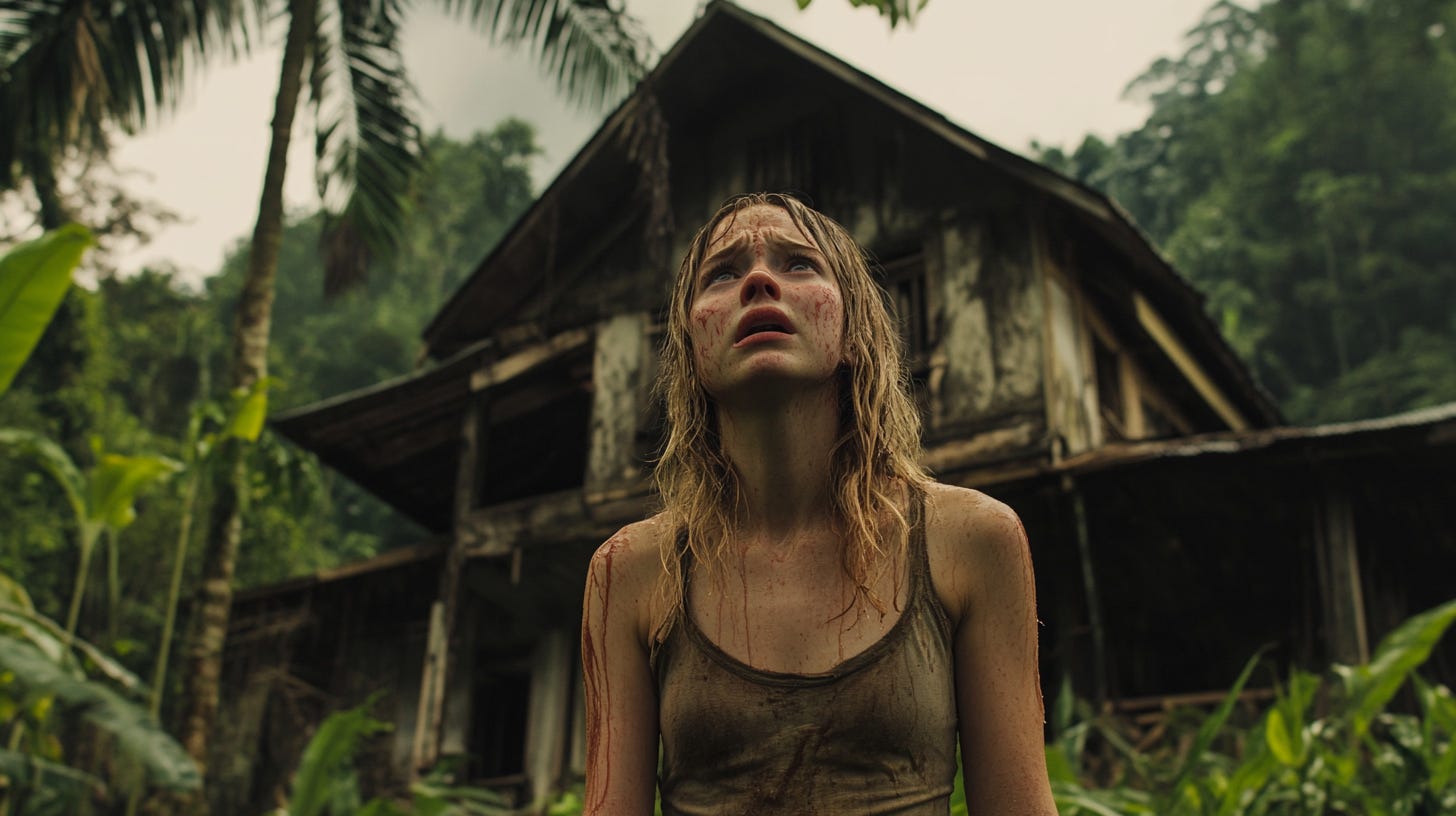
Establishing shot: This introduces our main character and portrays the setting or the environment. It may also convey the character’s desire.
Use it at the beginning of your prompt, such as “establishing photograph shot” to generate a photorealistic image rather than an illustration.

Transition shot: This relates to the protagonist’s movement and journey. You can also add other movement keywords, such as “walking” to enhance its effect.

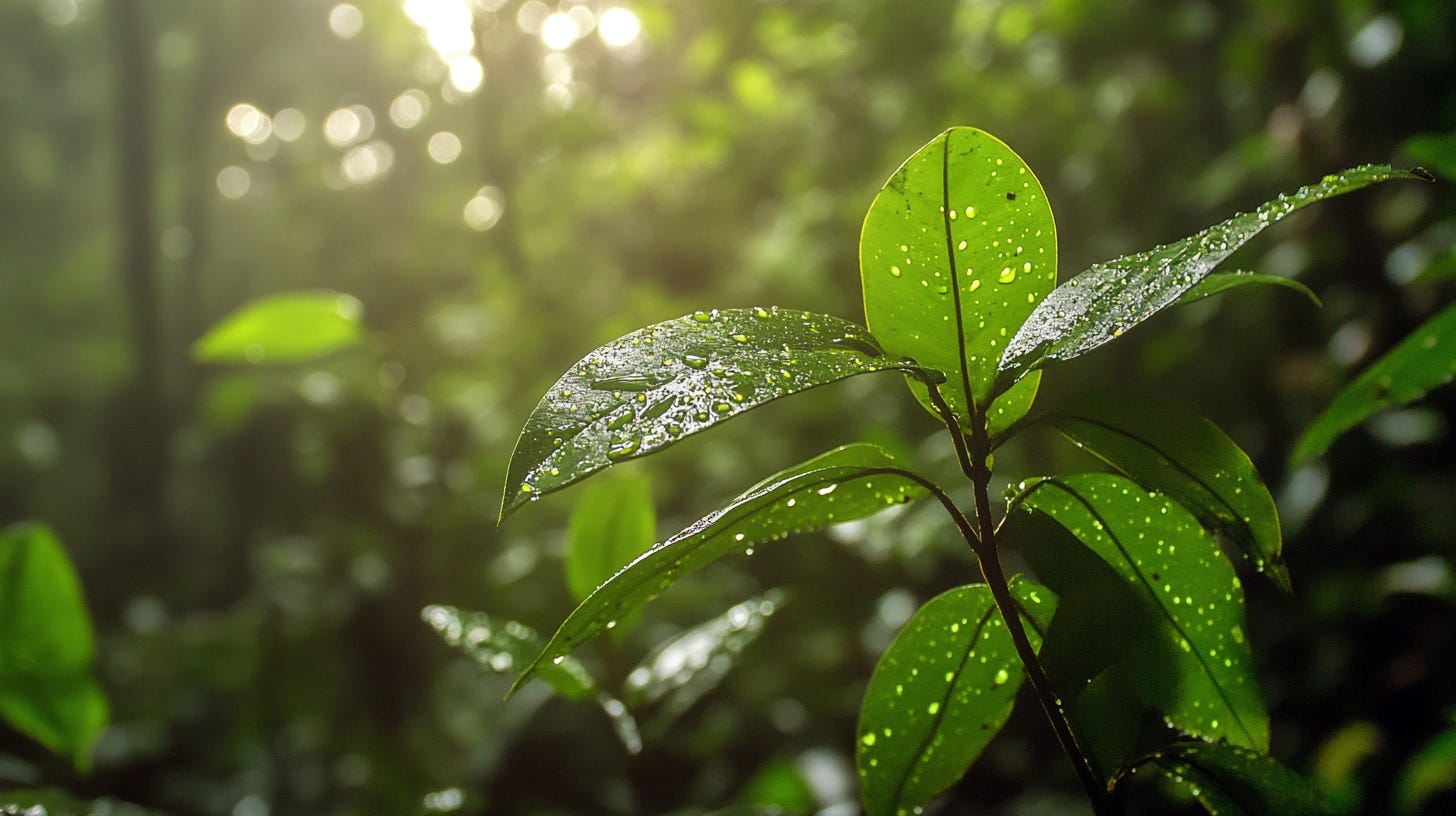
Cutaway shot: This adds additional details about the scene, such as the humidity or morning dew in the forest. It can also be used to introduce the story’s suspense and danger.

Another cutaway shot shows a nosy neighbor encountered by the protagonist on its journey.

End scene shot: This serves to wrap up the story and offers closure.

Geeky Curiosity is a newsletter for generative AI enthusiasts that covers Midjourney, Perplexity, Prompt Engineering, and other AI topics.
Subscribe now to discover the tried-and-true, practical tips and insights in using AI to boost your creativity and productivity.
Putting everything together
To keep this article simple, I’ll assume you’re familiar with each of the “ingredients” listed above. You understand how to use Cref, Sref, weights, and camera angles like a pro.
That’s a lot to ask, isn’t it? If you’re stuck and want to learn more about the “ingredients,” leave a comment, and I’ll write more about them in the future.
Okay, now let’s look at a fictional story I created using the method described in this article.
There’s no narration of the story. The images should be self-explanatory and carry the readers through the protagonist’s journey. The photos should allow readers to connect the dots by themselves.
Take a few seconds to look at each image, and you’ll be drawn into the story.
Establishing scene

Transition scene 1

Transition scene 2

Transition scene 3

Cutaway scene

Extreme close-up shot

End scene 1

End scene 2

It is definitely possible to take the story to the next level by creating a short video with these images using Runway.
But that’s a story for another day!
Recent articles
Midjourney: How to transition from Discord to the Web less painfully
Powerful tips for transitioning from Midjourney's Discord to web platform. Learn hidden features, editing tricks, and…open.substack.com
Napkin.ai: A simple way to create infographic with AI
Napkin.ai: Create custom infographics and diagrams effortlessly using AI. Enhance your presentations and documents with…open.substack.com
Related articles
Midjourney Camera Angles: Everything you need to know (House)
This in-depth guide will show you how to make your images more appealing to the eye by adjusting your camera’s angle in…medium.com
7 Insider Tips for Mastering Midjourney’s Style References
The creative, lesser-known uses of Sref codesmedium.com
Conclusion
Storytelling through Midjourney photos is possible using a combination of keywords, parameters, and photography techniques despite current limitations.
Key elements for AI-generated visual storytelling include photography keywords (e.g., establishing shot, transition shot), camera angles, style references, and character references.
The article demonstrates how to create a coherent visual narrative using Midjourney by combining these elements in a series of images that guide the viewer through a short story.
I hope you enjoyed this post!
Please subscribe, like, share, and comment so that more people can discover Geeky Curiosity newsletter.
Geeky Curiosity is a reader-supported publication. To receive new posts and support my work, consider becoming a free or paid subscriber.


