Midjourney: Tips for Using Retexture with Style References
Advanced tips for using Retexture with Style References to achieve consistent aesthetics and easily transform images

Midjourney's Full Editor includes two key features: Edit and Retexture, which enable users to edit images created inside and outside of Midjourney.
On the surface, it does not appear to be a big deal because AI-powered image editing tools, such as Adobe Photoshop's Generative Refill, have been available for a long time.
However, the Full Editor offers more than Generative Refill:
It is compatible with other Midjourney features, including Sref, Cref, image references, and so on.
It can convert a sketch into photographic or illustration images.
It is Midjourney’s response to ControlNet, allowing users to pose characters with reference images.
It enables users to test various aesthetic styles on an image while keeping the image composition consistent.
And much more, which we will discuss in this article.
The goal of this article is to share with you some lesser-known aspects and tips for using the Full Editor, with a focus on Midjourney Retexture because it provides the most recent functionality for transforming an image, as opposed to Edit, which is similar to existing inpainting/Vary (Region).
We'll walk through a hypothetical example of creating a mood board with the Full Editor and a Sref code.
If you're new to Midjourney's Full Editor, start with this article.
Ingredients for creating a mood board
We can create a mood board by arranging images with similar aesthetic styles (colors, elements, and overall vibe) on a Canva mood board template. Alternatively, if you are good at graphic design, you can create the template yourself.
Let's just say this is the mood board we'll be creating for this article. It features three images of ladies with the same aesthetic. Never mind that the template only has three empty slots where I can paste the image. It is more important to show you the process of creating images with the same aesthetic.
These are the various images that have been downloaded from Pixabay. They are the source images that will be converted to the same aesthetic style for creating the mood board.
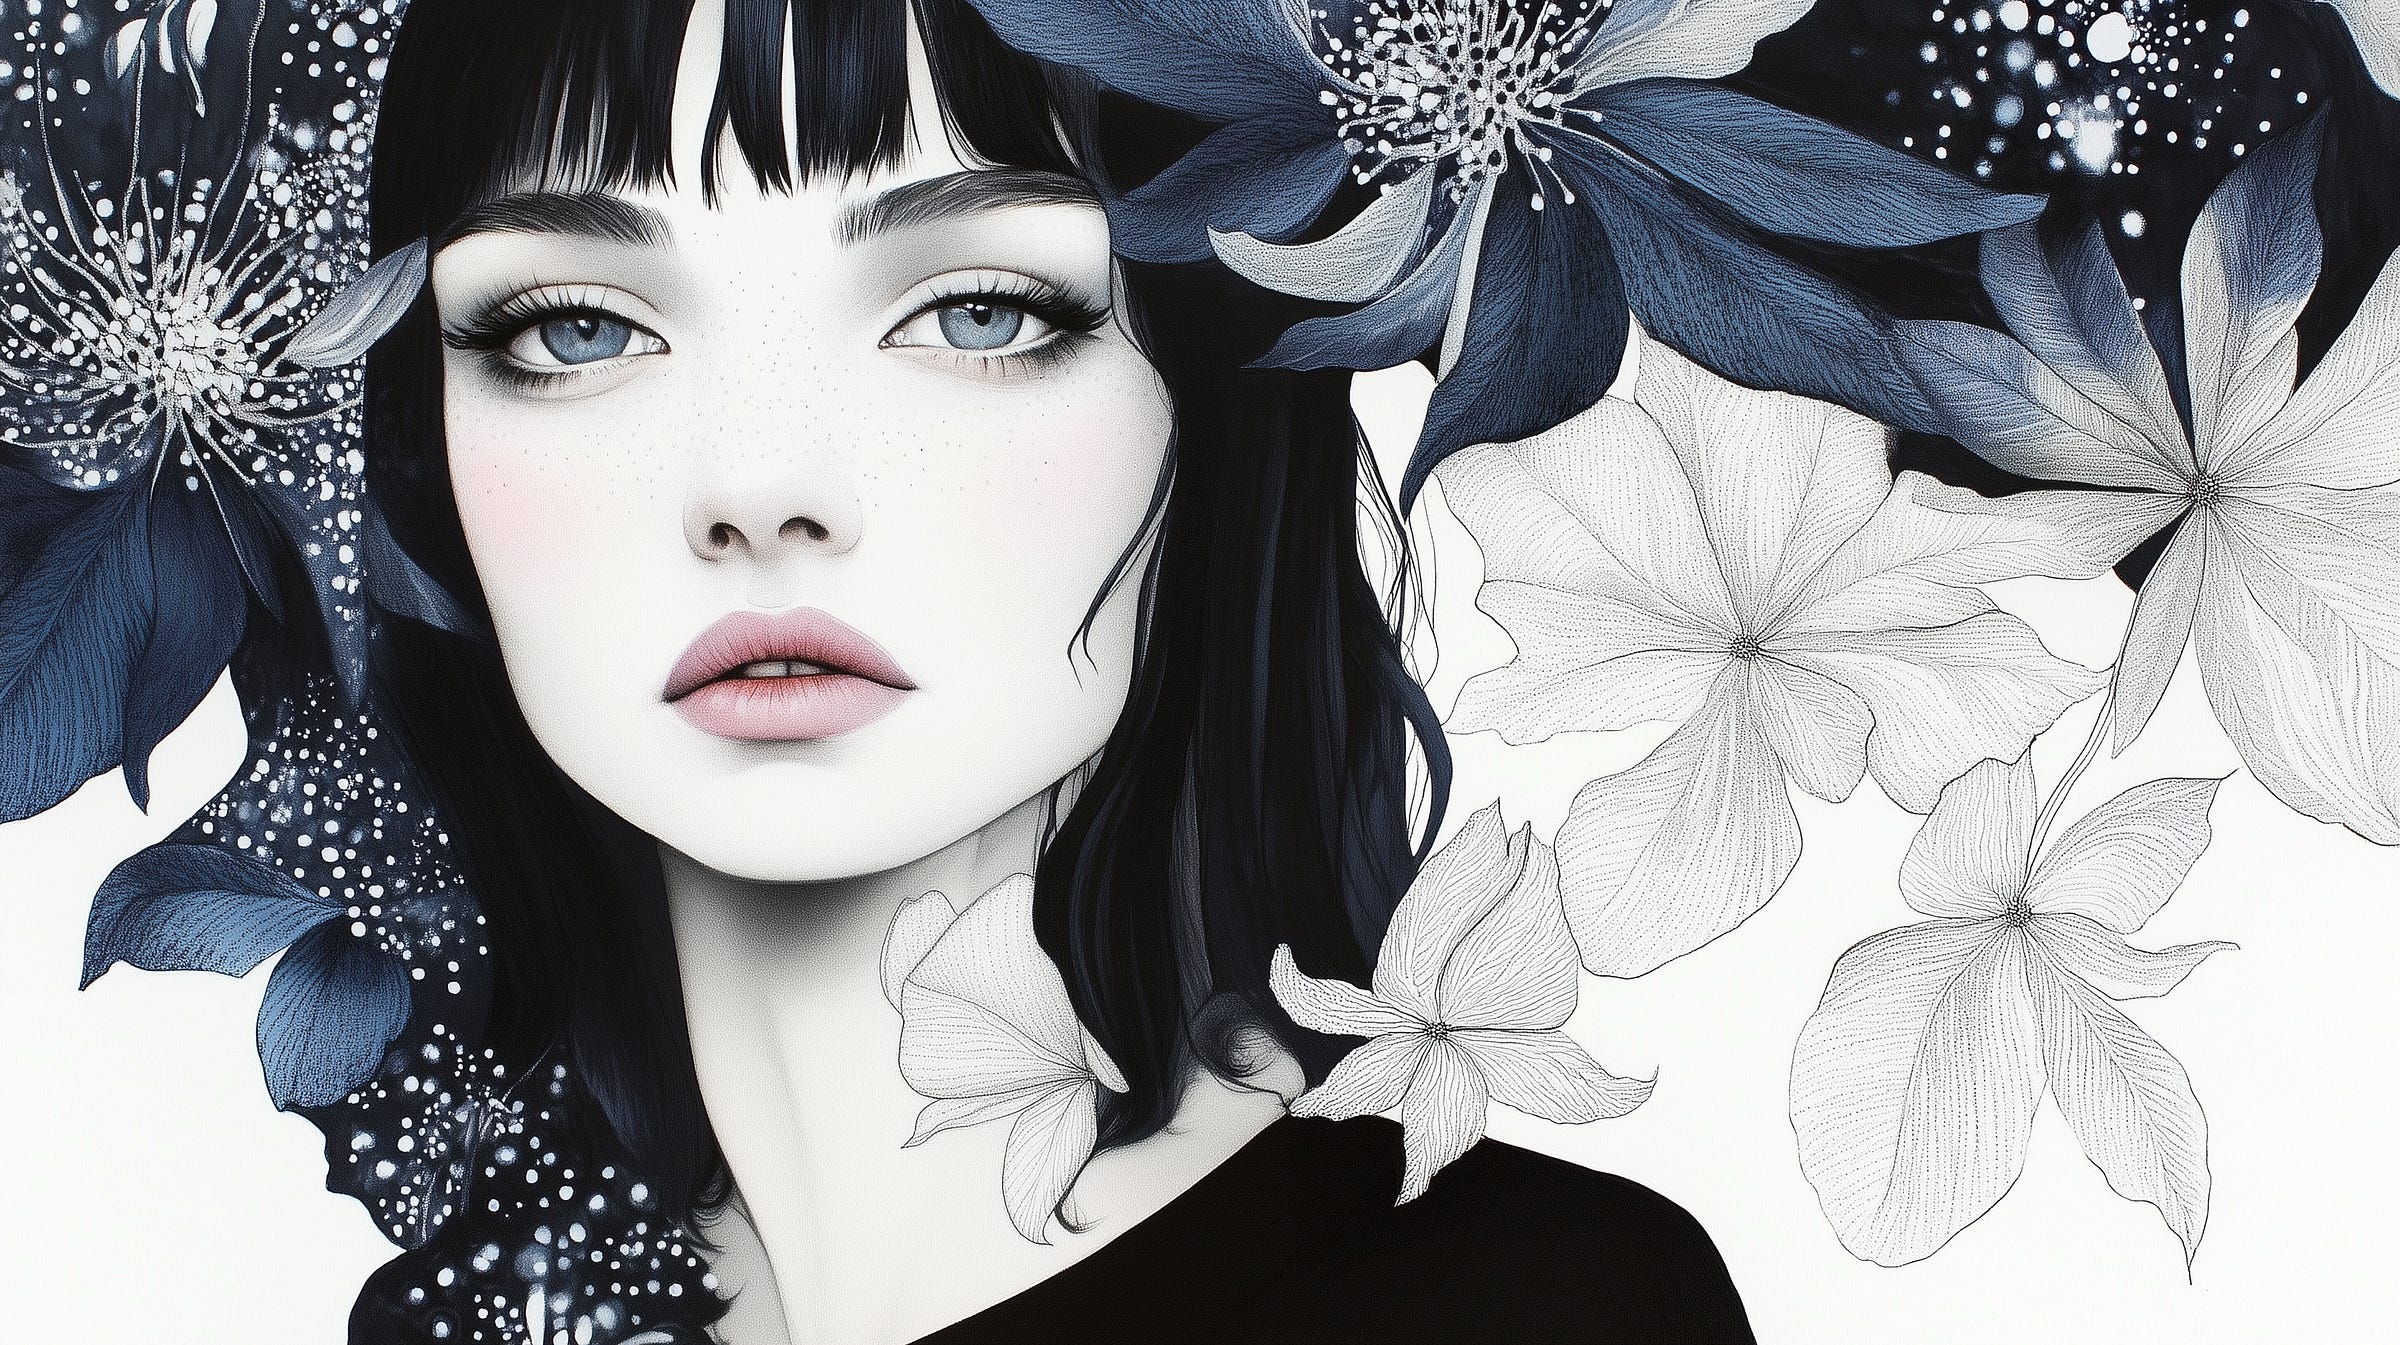
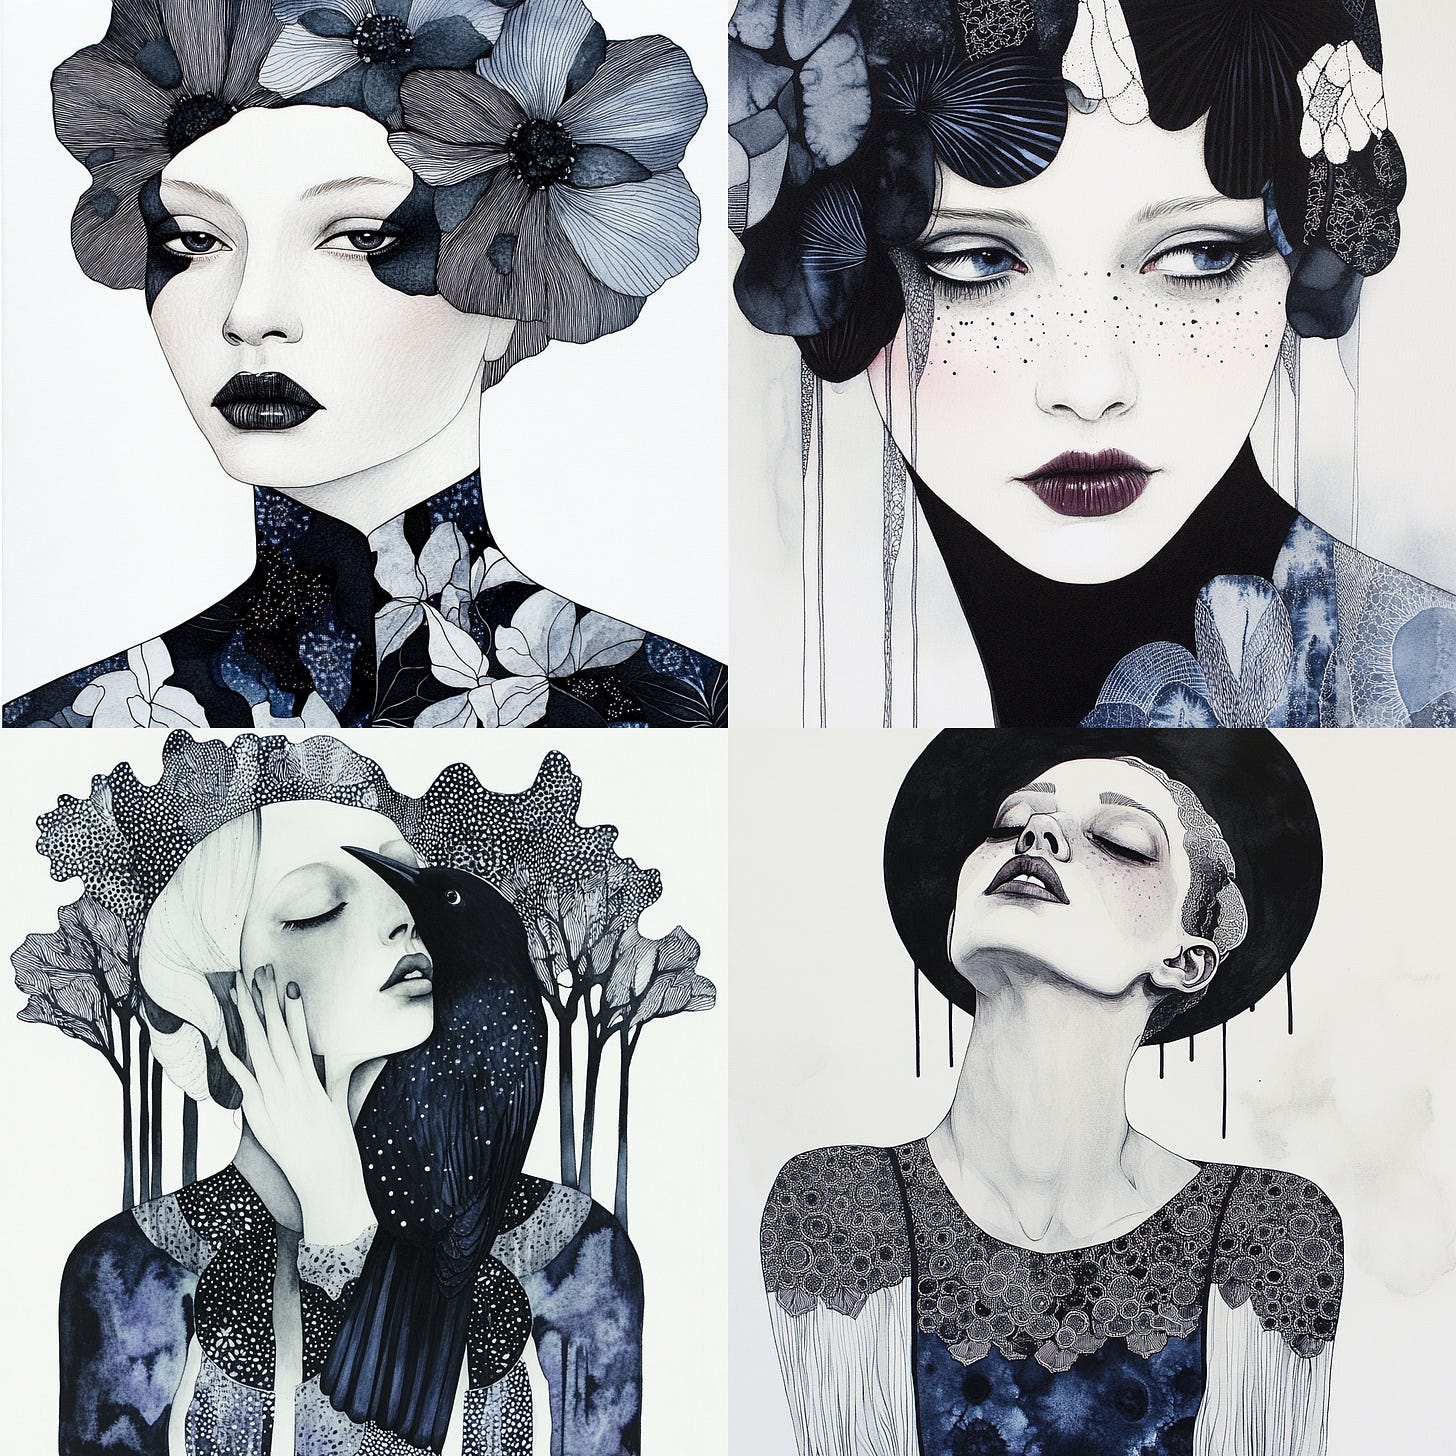
This is the Sref code (198814649) and its effects. It will be applied to the source images. Note that this Sref code has the following characteristics:
The main colors are blue, black, gray, dark red, and a hint of blush red on the models' cheeks.
There are floral and botanical elements.
The main subject is a beautiful lady who poses like a fashion model.
It has a white or gray background.
Understanding the Sref code effects is helpful for creating style-consistent images with Retexture.
A simple Retexture with a Sref code
You can use the Sref code in the Retexture prompt to apply its effect to any image.
If you're not sure what to write in the prompt, simply use a full stop or dot and include the Sref parameter at the end. For example: . --sref code
Notice how Retexture altered the image's colors, mood, and added botanical elements to the background. It also caused the model to close her eyes. If this is unacceptable, simply re-run the Retexture to see if you can find other images in which the model's eyes are not affected.
Tip: To apply a Sref effect to an image using Retexture for a consistent style, enter only the Sref code with a dot as the prompt. The bot will automatically add new elements as well as adjust the color and mood. There is no need to enter everything (colors, elements, etc.) into the Retexture prompt.
Adjusting the Retexture effect using style-related keywords
You can control the Retexture process by including style-related keywords in the prompt, particularly those that are consistent and relevant to the Sref code.
In the above examples, using the keyword "floral" in the Retexture prompt resulted in a better image than without. The keyword re-emphasizes the Sref effect, which typically includes floral and botanical elements.
Tip: In the Retexture prompt, use keyword(s) that are consistent with the Sref code to improve style consistency.
Retexture makes it easier to add new elements
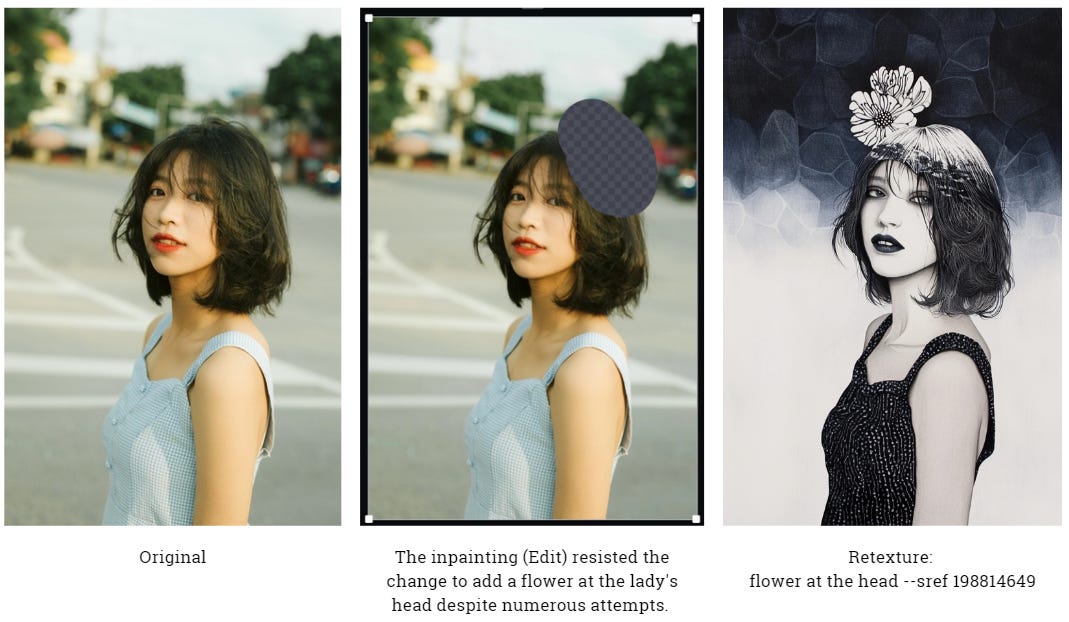
Adding new elements, such as a flower on top of the lady's head, is not always easy with inpainting/editing. The bot continued to resist the edit, most likely because the flower is an unexpected object that does not fit in with the composition or aesthetic. Even after four re-runs of the inpainting job, the bot failed to include the flower.
If you want to retexture the image with Sref code, you're in luck! Add the new element/flower to Retexture with the prompt "flower at the head" and the bot will generate it in a consistent style (see the third image).
Tip: Use Retexture to apply the Sref code and prompt the bot to add a new element (e.g., a flower on the head). It will lead to a higher success rate for inpainting, and the added element fits to the overall Sref aesthetic style.
Even if you don't specify it or use a Sref code, retexture will change the image's aesthetic style automatically.
If you want to maintain the original style while adding new elements, use Edit. The bot will resist your change, particularly if you include something unexpected or unusual, but you can try your luck. If all else fails, consider using third-party software such as Photoshop's Generative Fill; it may be easier.
Retexture + Cref + Sref can beautify your subject, harmonize the aesthetic styles, create new characters, and dramatize the results
Combining Retexture with Cref and Sref produces intriguing effects:
Original image.
Retexture + Cref + Sref --> The Cref effect is strong, but the style does not fit with the overall aesthetic of the mood board.
Retexture + Cref + CW 0, Sref —> Capturing only the face with zero Cref weight improved the outcome while maintaining the Sref code's style consistency. The character has been "beautified" when compared to the original.
Retexture + Sref (without Cref or Keyword) —> Although the style is consistent, it looks weird.
Retexture + Sref (without Cref) —> This produces a new character that bears little resemblance to the original.
Re-run No. 5 —> When not using Cref, you may get a dramatic result. If character consistency isn't important to you, try this.
Tip: Combine Retexture with Cref, Character weight, Sref, and keyword(s) to expand your options/variations of results.


