Create amazing text overlays by combining Midjourney and Ideogram
A beginner-friendly workflow that creates professional text overlays in minutes (with video walkthrough)


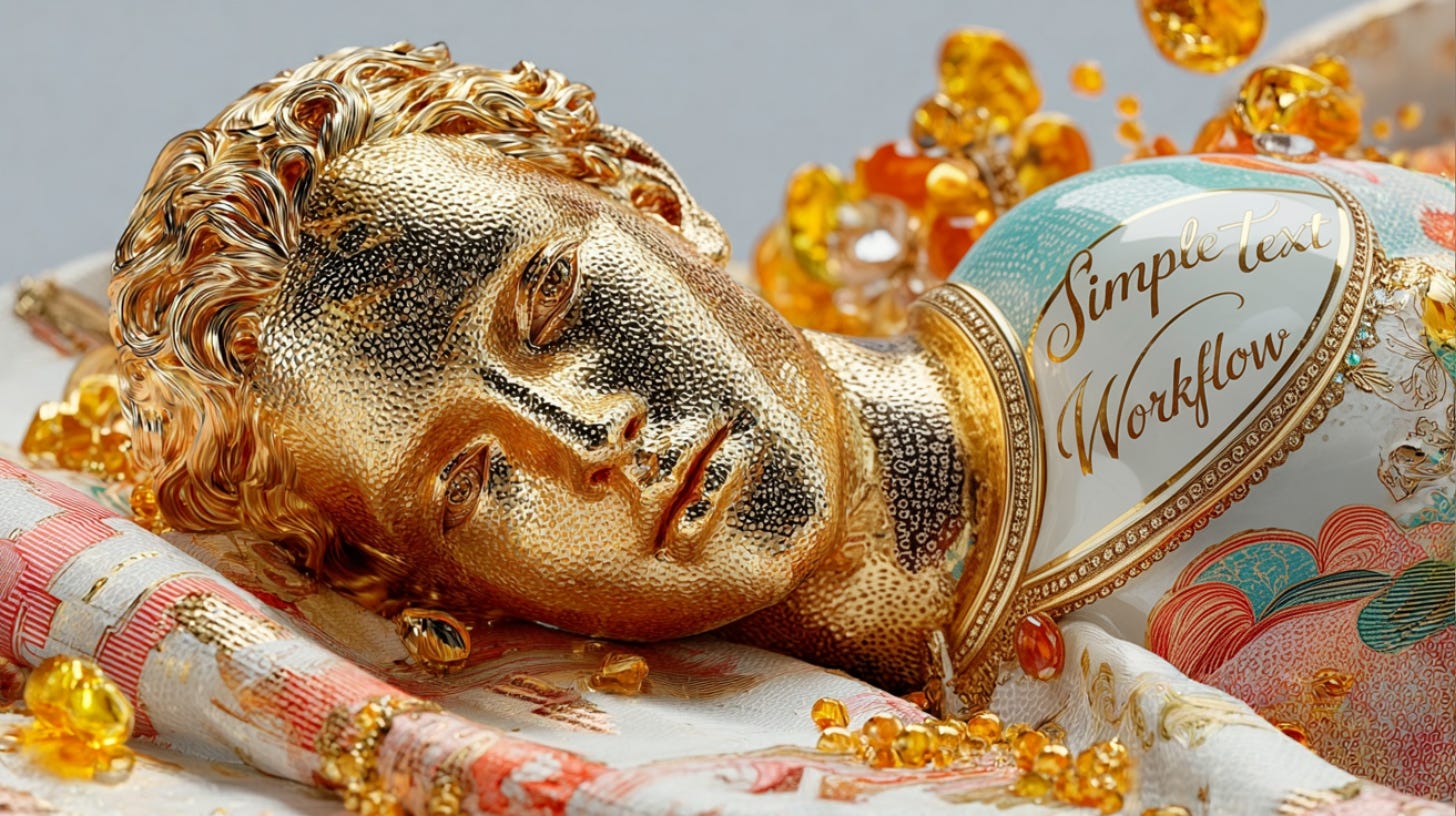
Simple technique for text overlays
I've written before about using Midjourney and Ideogram together for text-heavy projects, but that workflow required getting comfortable with both platforms and their more advanced features. Not exactly beginner-friendly.
While working on my latest music album cover (yes, I create music for fun), I stumbled onto a much simpler approach. This technique gets you professional results without needing to master Ideogram's more complex tools or advanced Midjourney prompting techniques.
Perfect for beginners just getting started with Ideogram, or anyone who wants quick text overlays without the learning curve.
My "It's All About Money" album cover went from concept to finished design faster than I could brew my morning coffee, and I didn't need to touch any of the advanced features.
Why this method rocks
I've been using traditional design software for years, and this workflow solves problems I didn't even realize were slowing me down:
You don't need to be a typography expert. No more staring at font menus wondering if Helvetica or Arial works better. The AI figures out what looks good with your specific image.
Skip the software subscription maze. Adobe Creative Suite costs more than both AI platforms combined, plus you need months to learn it properly.
Speed that actually matters. I'm talking real speed here. Not "faster than doing it by hand" but genuinely quick results. Perfect when you need multiple variations, or you're in a hurry (we're all busy, no?).
Style matching becomes effortless. Instead of guessing which fonts complement your image, you describe the mood you want and let the AI handle the visual harmony.
No licensing headaches. Commercial font licenses can cost hundreds of dollars and come with confusing usage restrictions.
Experimentation doesn't hurt. Since generating new versions takes seconds, you can try wild ideas without commitment. Some of my best results came from prompts I thought would fail.
I've used this for album covers, blog headers, social media graphics, and even book mock-ups. The text feels integrated rather than slapped on top.
Sample results
Say I want to make a text overlay for an image of a woman admiring a nature illustration. The title is "Nature is Beautiful". But I have no idea or training on how to make the text look good and match the tone of the image.
Here are the results from using the Midjourney + Ideogram technique. Done in minutes. Not a joke!

What you'll need (and what it costs)
Both platforms require paid subscriptions. Midjourney's basic plan works fine for this technique. Ideogram needs the Plus plan ($16 monthly with yearly billing, $20 monthly otherwise) because you need Canvas access and image upload.
Total monthly cost: roughly $26-30. Compare that to Adobe Creative Suite at $50+ monthly, and the math makes sense pretty quickly.
For simple text overlays, I get usable results about 80% of the time on the first try. This basic technique handles straightforward overlays really well - text that sits cleanly on top of your image with good readability and style matching.
Pro Tip: Start with monthly subscriptions while you're learning the workflow. Once you're comfortable, switch to yearly billing for better rates.
Limitations worth knowing
This simplified method focuses specifically on text overlays, such as album covers, book titles, or social media headers, where the text sits on top of the image. It works great for that purpose.
Think of this as the "reliable everyday solution" rather than the "artistic masterpiece method."
But if you want text that blends into backgrounds, follows complex curves, or integrates seamlessly with image elements, you'll need the advanced techniques I covered in my previous article.
Those methods require much more experimentation, deeper familiarity with both platforms, and a higher tolerance for failure. But the results can be truly spectacular when they work.